Easter Sugar Cookie Squares: A Festive, Crowd-Pleasing Spring Dessert
As the days grow longer and splashes of vibrant color begin to return to nature, our kitchens too, yearn for a touch of spring festivity. While traditional Easter baskets and egg hunts capture the imagination, there’s something truly special about a homemade treat that brings everyone together. Enter
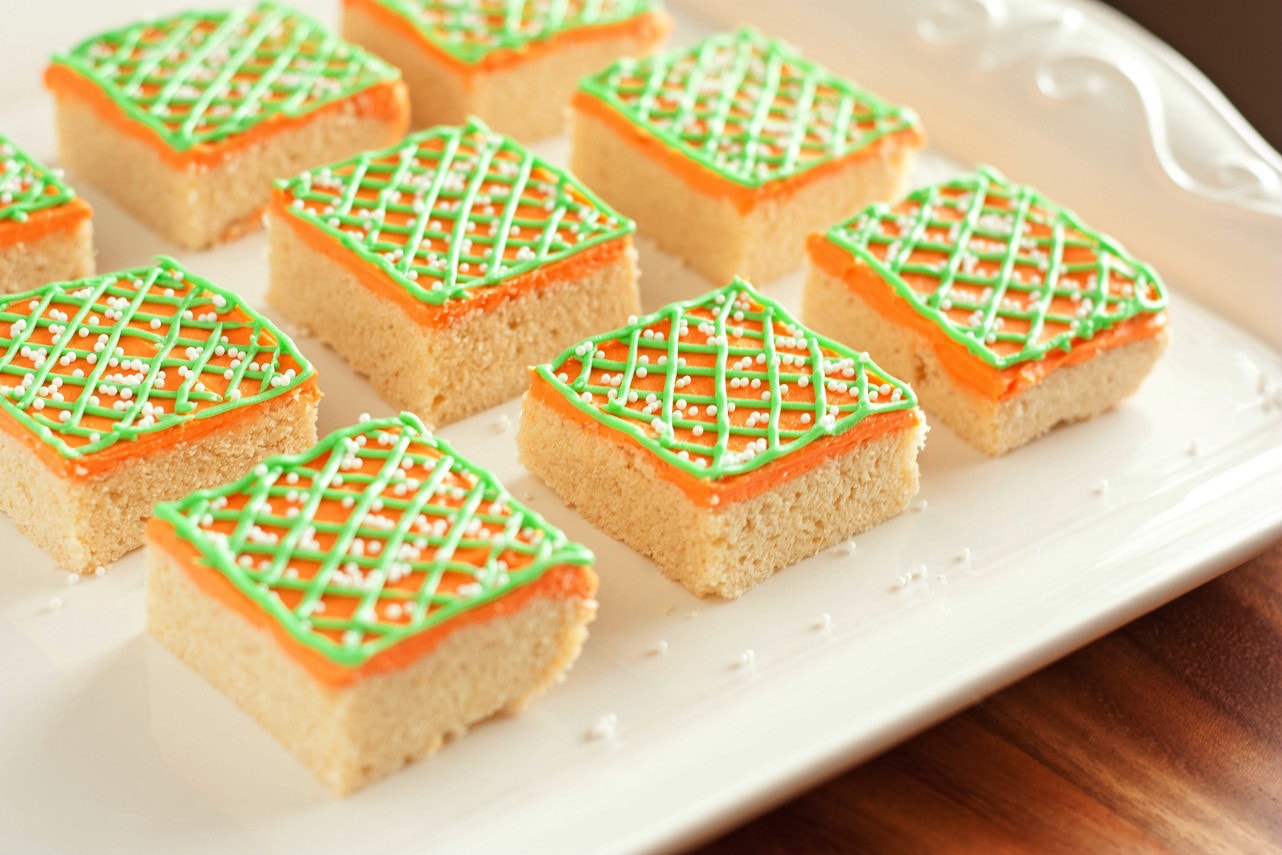
Easter Sugar Cookie Bars: The Versatile Treat for Any Celebration, a delightful twist on a classic that embodies the joy and sweetness of the season. These aren't just any cookies; they're soft, fluffy sugar cookie bars crowned with a generous layer of creamy, vibrant frosting, making them an instant crowd-pleaser and a beautiful centerpiece for any spring gathering.
Imagine the delight of biting into a thick, tender sugar cookie base, perfectly complemented by a luscious vanilla frosting, adorned with cheerful spring colors and playful sprinkles. These squares capture all the beloved flavor of classic sugar cookies but simplify the process significantly. Forget the endless rolling, cutting, and re-rolling of dough; with these bars, you press the dough into a pan, bake, cool, and then unleash your inner artist with the frosting. It’s a fuss-free approach to festive baking that allows you more time to enjoy the celebration.
Why Easter Sugar Cookie Squares Are Your Spring Dessert Solution
In a season bustling with egg hunts, family visits, and garden preparations, finding a dessert that is both stunning and straightforward is a true win. Easter Sugar Cookie Squares fit this bill perfectly, offering several compelling reasons to make them your go-to spring treat:
*
Effortless Elegance: The biggest draw of these squares is their incredible ease compared to traditional cutout cookies. By simply pressing the dough into a pan, you eliminate the time-consuming steps of chilling, rolling, and cutting, yet achieve a sophisticated, bakery-worthy look.
*
Crowd-Pleasing Perfection: It’s a rare gathering where these cookie bars don’t vanish almost instantly. Their familiar, comforting flavor profile appeals to all ages, making them a guaranteed hit at family brunches, potlucks, or even just as a special snack for your household. They truly live up to their reputation as the "first thing to go."
*
Gifting Gold: Looking for a charming homemade gift? These
Bake Amazing Easter Sugar Cookie Squares: Simple Recipe & Custom Frosting are ideal. Their extra pretty appearance, coupled with their delicious taste, makes them a thoughtful and much-appreciated present for neighbors, teachers, or hosts. Plus, they travel beautifully.
*
Seasonal Versatility: While they shine brightest during Easter with pastel hues, the beauty of these cookie squares lies in their adaptability. You can easily remix them for any occasion – think red and blue for the Fourth of July, orange and black for Halloween, or festive reds and greens for Christmas. The possibilities for color and sprinkle combinations are truly endless, making them a dessert for all seasons.
Crafting the Perfect Easter Sugar Cookie Square: A Step-by-Step Guide
Creating these irresistible Easter Sugar Cookie Squares is a joyful experience, yielding around 20 generous servings in less than an hour of active time. Here's how to bring this festive dessert to life, with a few extra insights to ensure perfection.
The Sugar Cookie Bar Foundation
The base of these squares is a soft, fluffy sugar cookie bar that melts in your mouth. The secret? Perfectly balanced ingredients and gentle handling.
Ingredients for the Cookie Bars:
* 1/2 cup (1 stick) unsalted butter, softened
* 1 cup granulated sugar
* 1 large egg
* 1 large egg white
* 1 1/2 Tablespoons sour cream (a heaping tablespoon works too)
* 1 teaspoon pure vanilla extract
* 2 1/2 cups all-purpose flour
* 1/2 teaspoon baking powder
* 1/2 teaspoon salt
Instructions for the Cookie Bars:
1.
Prep Your Workspace: Preheat your oven to 375°F (190°C). Lightly butter a 13" x 9" baking dish and set it aside. In a separate medium bowl, whisk together the flour, baking powder, and salt. This ensures even distribution of your dry ingredients.
2.
Creaming the Wet Ingredients: In the bowl of an electric mixer fitted with the paddle attachment, cream together the softened butter and granulated sugar. Beat on medium-high speed for 3-4 minutes until the mixture is pale and wonderfully fluffy. This step incorporates air, contributing to the bars' light texture.
3.
Adding Eggs and Flavor: Beat in the whole egg and egg white until just combined. Then, stir in the sour cream and vanilla extract. The sour cream is a key ingredient here, adding a subtle tang and ensuring the bars remain incredibly moist and tender. Mix until just blended – avoid overmixing.
4.
Combining Wet and Dry: With the mixer on low speed, slowly add the dry flour mixture to the wet ingredients. Mix until *just* combined. Overmixing at this stage can develop too much gluten, resulting in tougher cookies. A few streaks of flour are fine; they'll disappear as you press the dough.
5.
Pressing into the Pan: Lightly butter your hands to prevent sticking. Gently press the dough evenly into your prepared baking dish. Don't compact it too much; a gentle patting motion is best for a tender crumb.
6.
Bake to Golden Perfection: Bake for 17-20 minutes, or until a toothpick inserted into the center comes out clean and the edges are lightly golden. The exact time will depend on your oven.
7.
Cool Completely: This step is critical! Allow the cookie bars to cool completely in the pan on a wire rack before attempting to frost them. Warm bars will melt your beautiful frosting.
Whipping Up Your Festive Frosting
A sweet, creamy, and vibrant vanilla frosting is the crown jewel of these squares. The recipe calls for a slightly increased amount of frosting, ensuring you have plenty for thick, luscious coverage and artistic piping.
Ingredients for Vanilla Frosting:
* 6 Tablespoons unsalted butter, softened
* 3 cups powdered sugar (confectioners' sugar)
* 1 pinch salt
* 1/2 teaspoon pure vanilla extract
* 4 Tablespoons milk or heavy cream (add more or less to achieve desired consistency)
* Red, yellow, and green food coloring (or your desired spring shades)
Instructions for Vanilla Frosting:
1.
Combine and Whip: In a large mixing bowl, combine all the frosting ingredients: softened butter, powdered sugar, salt, vanilla extract, and milk/cream.
2.
Achieve Fluffy Perfection: Using an electric mixer, start on low speed to incorporate the powdered sugar, then gradually increase to medium-high. Whip until the frosting is wonderfully light, fluffy, and well blended, about 3-5 minutes. If it's too thick, add a tiny bit more milk/cream (1/2 teaspoon at a time). If it's too thin, add a tablespoon or two more powdered sugar.
3.
Color Your World: Divide the frosting into several smaller bowls. Add a few drops of food coloring to each bowl (e.g., red for pink, yellow, green) and mix until your desired pastel shades are achieved.
4.
Pipe and Swirl: Once your cookie bars are completely cool, spread a generous layer of your main frosting color over the entire surface. Then, using piping bags fitted with small round tips (or simply snipping the corner off a Ziploc bag), pipe diagonal lines with your contrasting colors. For a classic look, alternate colors. You can then drag a toothpick or knife through the lines in alternating directions to create a lovely feathered effect.
5.
Sprinkle with Joy: Immediately after frosting, scatter white or festive spring sprinkles over the top. The fresh frosting will help them adhere.
6.
Slice and Serve: Once the frosting has set slightly, cut the cooled, frosted bars into approximately 20 squares.
Beyond Easter: Customizing Your Cookie Squares for Any Celebration
The adaptability of these sugar cookie squares is truly remarkable, making them a year-round staple. While they shine in their Easter attire, don't limit their potential! Here's how to customize them for any festivity:
*
Seasonal Themes:
*
Summer BBQs: Use red and blue frosting with white sprinkles for a patriotic Fourth of July treat.
*
Autumn Harvest: Think rich orange, brown, and deep red frostings, perhaps with candy corn or fall-themed sprinkles for Halloween or Thanksgiving.
*
Winter Wonderland: Blue, white, and silver frosting with snowflake sprinkles for Christmas or Hanukkah.
*
Special Occasions:
*
Birthdays: Match the frosting colors to the birthday person's favorite hues or party theme.
*
Baby Showers: Soft pinks or blues, or gender-neutral yellows and greens, adorned with tiny candy feet or pacifiers.
*
Graduations: Use school colors and add small edible caps.
*
Flavor Twists: While vanilla is a crowd-pleaser, don't hesitate to experiment!
* Add lemon zest to the cookie dough and frosting for a bright, springy flavor.
* Substitute almond extract for vanilla in either the cookies or frosting for a different aroma.
* Swirl in a tablespoon of fruit puree (like raspberry or strawberry) into a portion of the frosting for a fruity burst.
Pro Tips for Flawless Easter Sugar Cookie Squares
Even simple recipes benefit from a few expert insights to ensure perfect results every time.
*
Don't Overmix the Dough: This is crucial for tender cookie bars. Mix only until the flour streaks disappear. Overmixing can lead to a tough, dense texture.
*
Chill Your Pan (Optional, but helpful): If your kitchen is warm or you find the dough a little sticky to press, lightly chilling the buttered pan for 10-15 minutes after pressing the dough can make it easier to handle and achieve a cleaner bake.
*
The Importance of Cooling: Be patient! Frosting warm cookie bars will result in a messy, melted glaze rather than a beautiful, defined layer. Let them cool *completely*—this might take an hour or two.
*
Softened Butter is Key: For both the cookie dough and the frosting, ensure your butter is properly softened (not melted) at room temperature. This allows for proper creaming and a smooth consistency.
*
Achieve the Right Frosting Consistency: If your frosting is too stiff, add a tiny bit more milk or cream (1/2 tsp at a time). If it's too loose, beat in more powdered sugar (1 tbsp at a time) until it reaches a spreadable yet pipeable consistency.
*
Storage Savvy: Store your Easter Sugar Cookie Squares in an airtight container at room temperature for up to 3-4 days. For longer storage, you can freeze unfrosted bars wrapped tightly for up to 2 months, or frosted bars (in a single layer, then covered) for about a month. Thaw at room temperature.
These Easter Sugar Cookie Squares are more than just a dessert; they’re a celebration in edible form. They offer the perfect blend of ease, deliciousness, and festive charm, making them an ideal choice for your spring gatherings. So, gather your ingredients, unleash your creativity, and get ready to bake a batch of pure joy that will have everyone reaching for seconds. Happy baking!